Ray tracing in Minecraft: How to enable, minimum requirements, more
After almost a decade of release, Minecraft finally supports ray tracing which is a major boost to its graphics. Here’s how you can turn on ray tracing in Minecraft and explore your world like never before.
To be fair, Minecraft never gained prominence for its graphics. In fact, the sandbox game still has pixelated graphics while other AAA titles are spending everything they can to get the most realistic graphics.
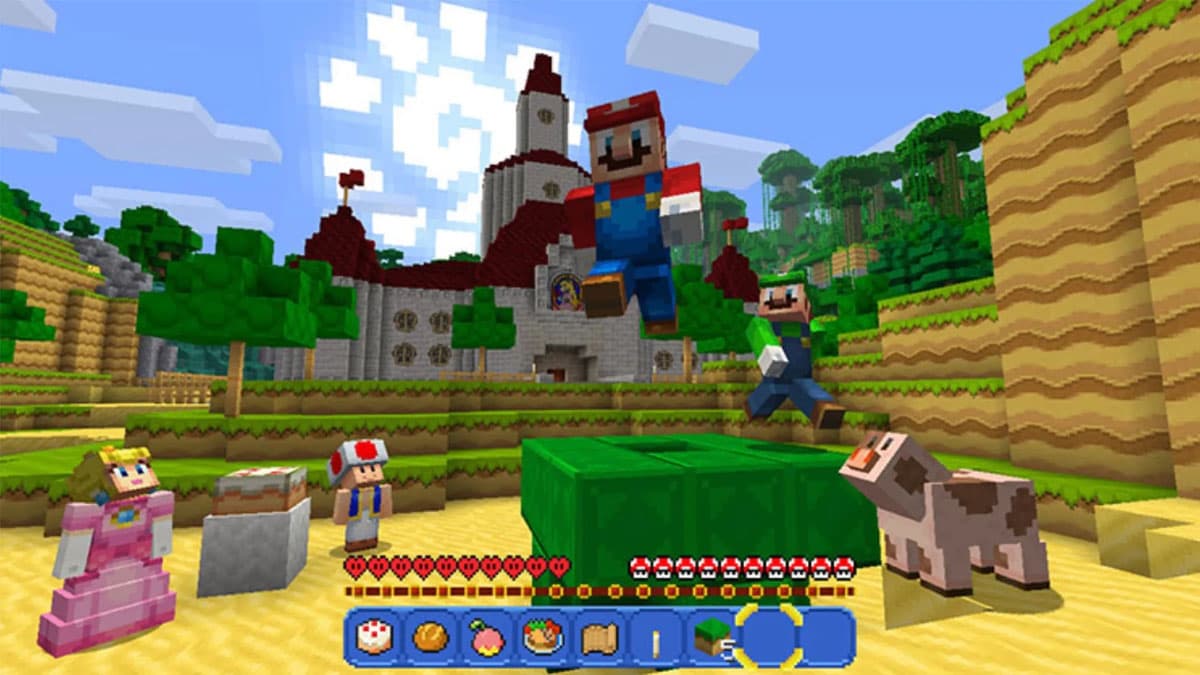
Having said that, gamers have always appreciated realistic graphics and they can now enjoy Minecraft with ray tracing as well. The feature improves the graphics quality significantly and elements such as horses, cats, and villages look more authentic than ever.
Here’s everything to know about ray tracing in Minecraft.
- What is ray tracing in Minecraft?
- Minimum requirements to turn on ray tracing in Minecraft
- How to download ray tracing-enabled worlds in Minecraft
- How to enable ray tracing in Minecraft

What is ray tracing in Minecraft?
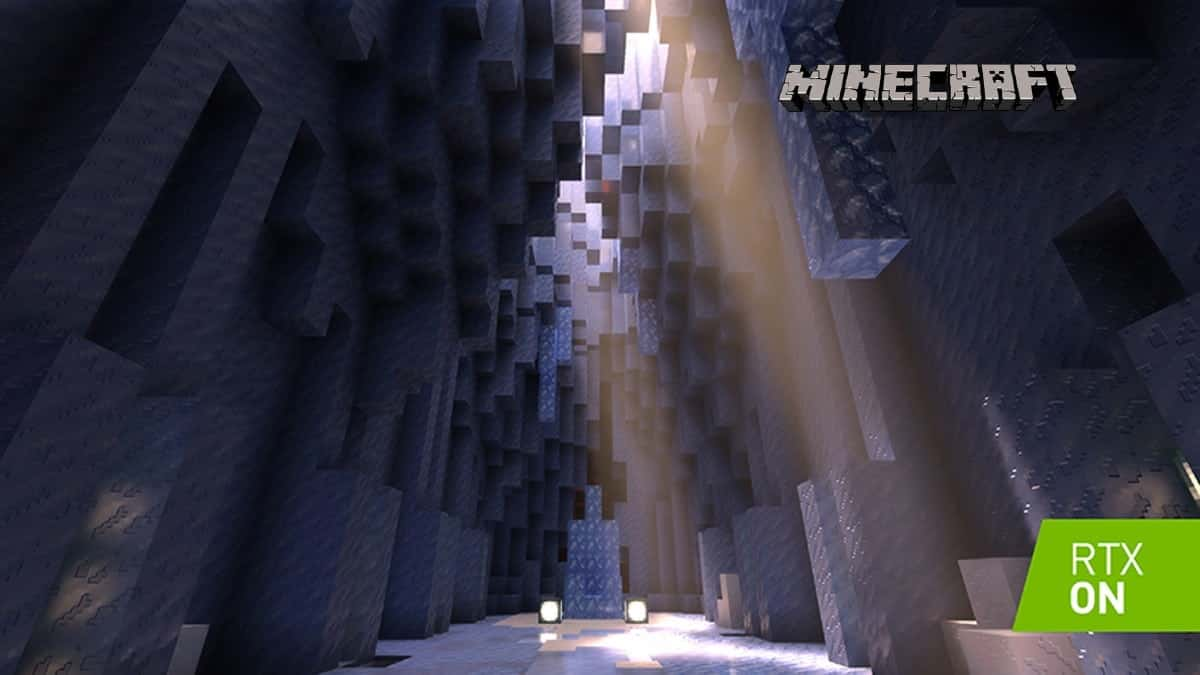
Ray tracing in Minecraft helps in perfectly imitating light, shadows, and reflections. This drastically improves the overall look of the pixelated world and brings it closer to reality.
- Read More: How to hatch a dragon egg in Minecraft
Games with ray tracing stand out because of their natural depiction of virtual elements. Some of the best examples include Control, The Medium, and Metro Exodus.
As of September 2022, only Minecraft Bedrock edition on Windows 10 supports ray tracing and you must have a setup that fulfills certain hardware and software requirements. All the in-game features and mechanics remain the same and the differences are purely visual.
Minimum requirements to turn on ray tracing in Minecraft
Your setup must meet the following requirements if you want to enjoy RTX ray tracing in Minecraft:
- Operating system – Windows 64-bit
- GPU – NVIDIA GeForce RTX 20 Series and higher or AMD Radeon RX 6000 Series and higher
- CPU – Intel Core i5 or higher
- RAM – 8 GB or higher
- Minecraft version 1.16.200 or higher

How to download ray tracing-enabled worlds in Minecraft
Follow these steps to experience worlds with ray tracing in Minecraft:
- Go to the main menu. Choose Marketplace.
- Search for ‘ray tracing’ in the Marketplace and look for official worlds created by NVIDIA. The thumbnail of these worlds has an NVIDIA RTX logo on the bottom right corner.
- Worlds with a blue icon also indicate that they support ray tracing.
- Purchase or download these worlds for free and then Create them. Choosing the Create on Realms Server option will create an online session.
How to enable ray tracing in Minecraft
Follow these steps to enable and enjoy ray tracing in Minecraft:
- Visit the official NVIDIA RTX PBR Texturing guide and download the RTX resource pack from the NVIDIA and Partner Resource Packs section.
- After the download is complete, open the .mcpack file and it will automatically add ray tracing to your world.
- If this method doesn’t work, check that ray tracing is enabled in-game. Go to Settings > Video > Ray Tracing and use the toggle switch to manually enable ray tracing.

This was everything to know about ray tracing in Minecraft. For similar content on the sandbox title, check out how to tame parrots, how to make a name tag, and how to make a boat.
Image Credits: Mojang