How to make clothes on Roblox
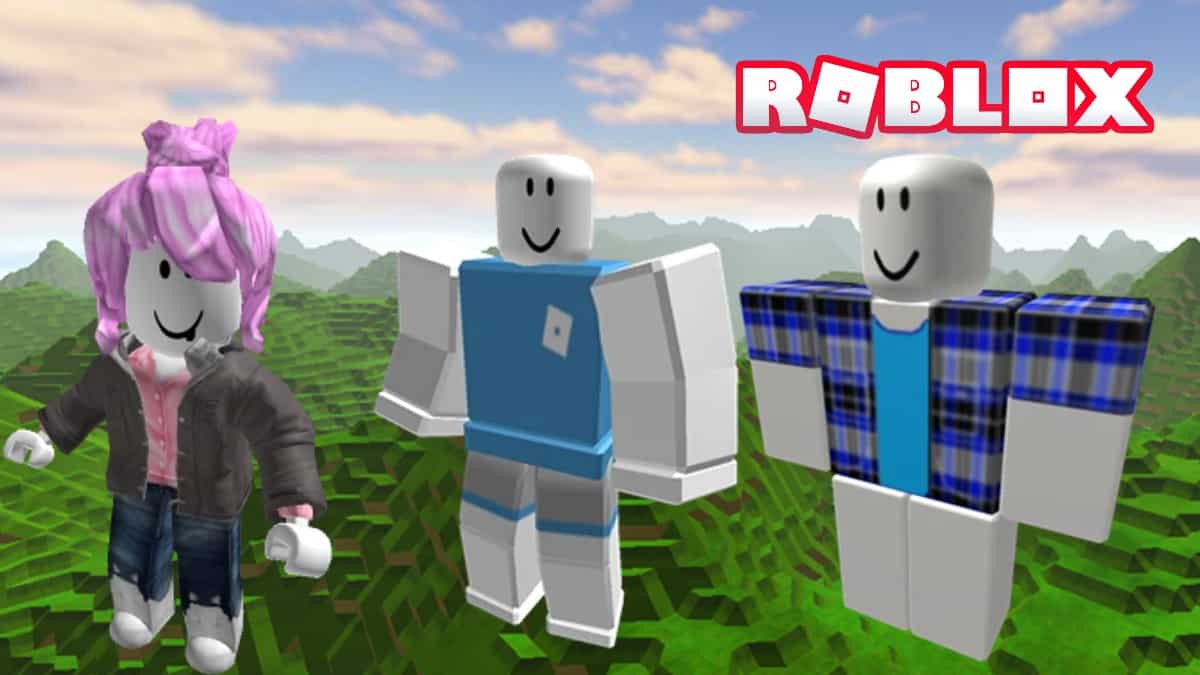
Roblox is popular for providing its users with a ton of sandbox features. This includes the ability to make clothes, and here’s a guide on making the coolest shirts, t-shirts, and pants in the game.
Considering that Roblox has over 1 million active players, it is naturally hard for new users to stand out. They can either spend Robux on special cosmetics in the shop or make their own skins. For someone who likes to keep things thrifty, using the Roblox Studio to make clothes is certainly a better option.
This guide will teach you how to make clothes like shirts, t-shirts, and pants in Roblox.
- Download Roblox Studio to make clothes on Roblox
- How to make shirts, t-shirts, or pants in Roblox for free
- How to upload your custom clothes in Roblox
- How to test/preview clothes in Roblox

Download Roblox Studio to make clothes on Roblox
One must download Roblox Studio to build any sort of projects like games and clothes. You can do so by visiting the official Roblox website, logging in, and opening the ‘Create’ section which displays your creations and Library. Click on ‘Start Creating’ and the download should begin.
- Read More: What is the tagline of Roblox?
If the ‘My Creations’ and ‘Library’ options do not become available even after downloading Roblox Studio, simply click on ‘Manage Experiences’ on the page to access them.

How to make shirts, t-shirts, or pants in Roblox for free
The first step to making clothes in Roblox is to download the ideal template for it. Visit the official blog on avatar creation where you will find two templates for Torso + Arms and Torso + Legs. Click on them and select ‘Save Image as..’ to save them on your device.
- Read More: How to get a Display Name on Roblox
The templates have several colored boxes and from the top-left corner, you can know the exact position of every block on your avatar.

After downloading the templates, open them on any photo editor. There are many free options like GIMP, Paint.NET, Photopea, Pixlr, and MS Paint, among others.
Make solid colored clothes in Roblox
Any software with basic editing tools should allow you to cut out the colored boxes. For instance, by using Pixlr’s cut-out option, you can make the following template:

After removing the colored boxes, you can either make clothes with a single color or add several elements. To make solid shirts and pants, just download an image of the desired color and add it as a background layer.
The result should look like this:

Unlike the image above, make sure to fix any imperfections around the edges.
Make multi-colored clothes in Roblox
To make multi-colored clothes in Roblox, you’ll have to add several layers of colors/textures to the template. Download the preferred colors and then use image editing software to resize them.
- Read More: What does AFK mean in Roblox?
The dimensions for each block are:
- Large Square that says Front and Back: 128 x 128 pixels
- Tall Rectangle representing Sides of Torso, Arms, and Legs: 64 x128 pixels
- Wide Rectangle labeled Up and Down of Torso: 128 x 64 pixels
- Small Squares: 64x 64 pixels
In the image below, the yellow box is sized 128 x 128 pixels while the Cyan rectangles are 64 x 128 pixels:

If you upload this template, the character will wear a torso with a yellow front and the arms will have a layer of Cyan. The empty portions will represent the skin.
Making a T-Shirt is a lot easier than this. Just upload a 128 x 128 image and it will be applied to the front of the character’s torso.
How to upload your custom clothes in Roblox
Follow these steps to upload a custom-made cosmetic to Roblox:
- Open Roblox and log in.
- Open the ‘Create’ section.
- Go to My Creations and choose T-Shirts, Shirts, or Pants according to the template you’ve worked on.
- Ensure that your template is 585 x 559 pixels (wide x tall dimensions).
- Uploading T-Shirts, Shirts, and Pants will take up 10 Robux as a fee.
It is worth noting that the clothes you upload will be checked by the moderators before they become accessible. The process can take up to 5 minutes and even 2 days in certain scenarios.
How to test/preview clothes in Roblox
You can test your clothes before uploading them on Roblox and make sure that they are perfect through these steps:
- Open Roblox Studio.
- On any terrain, open the Plugins tab and choose Build Rig.
- Make the rig that suits your purpose and a ‘Dummy’ avatar shall spawn.
- Open the Explorer Window and choose the + sign that appears when you hover over Dummy.
- Select Shirt Graphic (used for T-Shirt designs), Pants, or Shirt and upload the final templates.
- This will apply the clothing to the Dummy avatar.

With some practice, you should be able to make all sorts of clothes in Roblox. In a nutshell, the goal is to brush up on your editing skills and replace the colored blocks in the template with colors and textures that you love the most.
If the procedure mentioned above is arduous for you, heading to the shop and buying cosmetics for Robux is always an option. However, some cosmetics like the Headless Horseman in Roblox can be surprisingly expensive.
Image Credits: Roblox Corporation