How to beat the Deep Stone Crypt raid in Destiny 2: Beyond Light
deep stone crypt raid destiny 2 beyond light
One of gaming’s most arduous and enduring tests of patience and skill – a Destiny raid. With Bungie’s latest expansion comes a new lengthy battle of wits. But in order to do it yourself, here’s how you can beat the Deep Stone Crypt raid in Destiny 2: Beyond Light.
Given that Beyond Light is supposed to be a step towards a bright future for Destiny, it’s only fitting that it boasts one of Destiny’s toughest raids to date. The multiple hour slog pretty much needs a cohesive unit brimming with teamwork.
There’s a lot of ground to tread with DSC, and a lot to cover if we want to get you to the finish line. So let’s no waste time and guide you to victory in the new Bungie raid.
How to prepare for the raid
It’s vital that you take advantage of every liberty the game affords you with this raid. If you’re allowed a certain amount of things or allowed to be at a certain level, then you maximize that.
Here are some key things to consider.
Your Fireteam is allowed 6 members
Unless you’re a developer for Bungie, in which case why are you reading this, then you should probably be going into Deep Stone Crypt with a full allocation. The race to the World’s First has come and gone, your focus should be on making sure you complete it.
The final boss will peak at a Power Level of 1250
The day 1 contest imposed multiple, punishing restrictions on players in those first 24 hours. One of which was that they were capped out at 1230 Power Level. The good news is that you can now be the maximum level of 1250. It’s imperative that you come into this raid fully leveled.
Overload Champions will be in this raid
So quite simply, make sure you have Overload rounds unlocked and equipped to deal with the Champions. These are the only champions you’ll find in the Deep Stone Crypt raid.
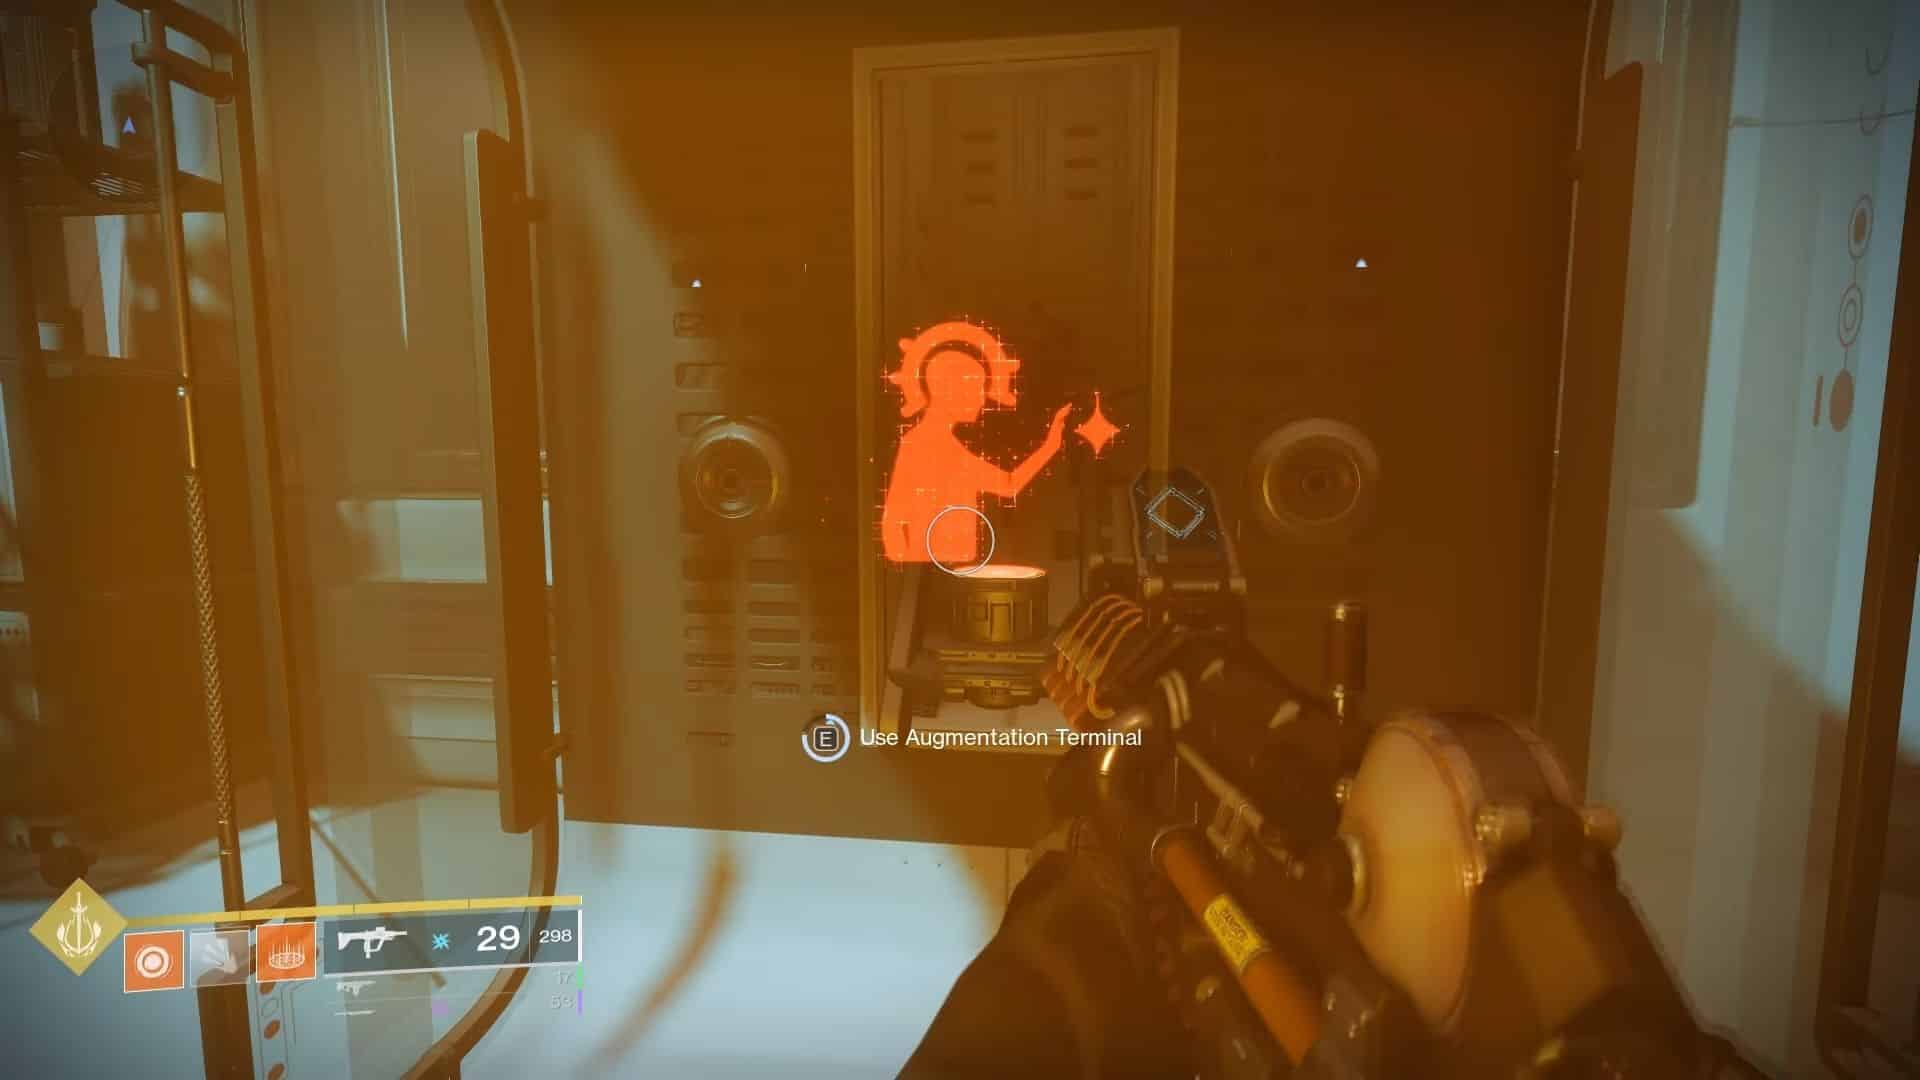
Augments
Augments are obtained during the raid and they are all role-based. Augments provide a passive ability to players and will be available by killing a certain enemy holding them.
Suppressor
It looks like a blue icon and the main job of the Suppressor is to be underneath drones/turrets and shoot him.
Scanner
A yellow buff that is shaped something similar to an oval. The main job of the Scanner is to point out key objectives during the raid and identify targets for the Operator.
Operator
Represented by a red symbol, Operator’s need to shoot and interact with objects featuring the symbol.
Finding the raid
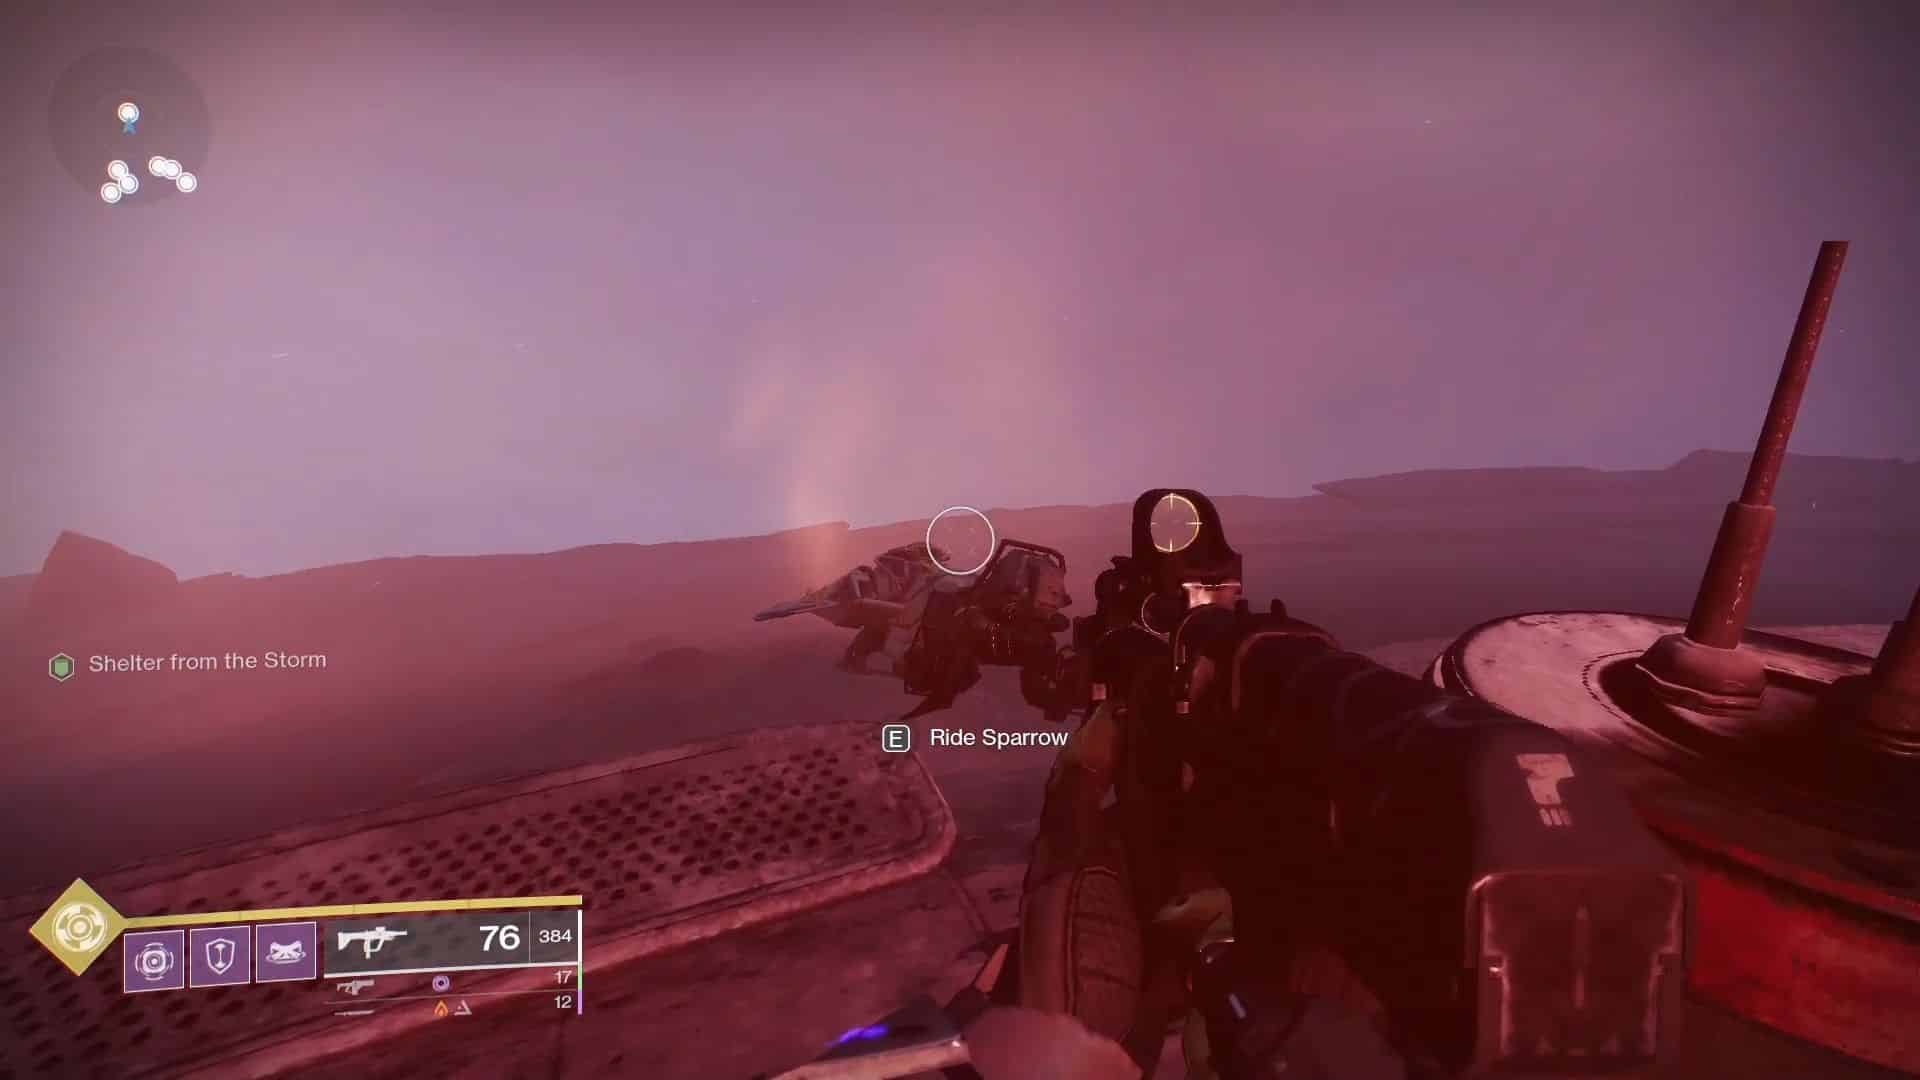
Now the real fun begins. In order to make your way there, you’re going to need to circumnavigate a deadly storm that wants to bring your efforts to a screeching halt. So the raid is already off to a murderous start. For every second your Guardian is exposed to the scathing chill of the blizzard, you will receive a stack of Frostbite debuff. If you, unfortunately, reach a stack of 10, then your body will succumb to the blizzard and you’ll be facing a quick restart.
To survive this storm:
- Mount your Sparrow
- Head into the storm
- Follow the lights to guide you
- Keep finding heat bubbles to reset the debuffs
- Make sure EVERY Fireteam member is able to successfully make it through the storm
- Reach the airlock
- Defeat the Brigs and Captain defending it
- Start the first encounter
First Encounter – Disable the security
NOW the real fun begins. You’re immediately introduced to the mechanics of this raid as your Fireteam will need to split up into two with designated roles to be assigned. The arena has a lefty and right side, so you’ll need to make use of these Augments to overcome this room.
- Split up into two teams
- Each team should ideally have one Operator, one Scanner, and one regular Guardian
- Scanners need to locate the objectives to shoot and take out
- Operators will shoot the highlighted panels underground
- Regular Guardians need to fend off enemy threats, destroy Servitors, and Overload Champions, plus interfere with the Augment terminal
- Keep going until all six fuses are destroyed
Second Encounter – Defeat Atraks-1
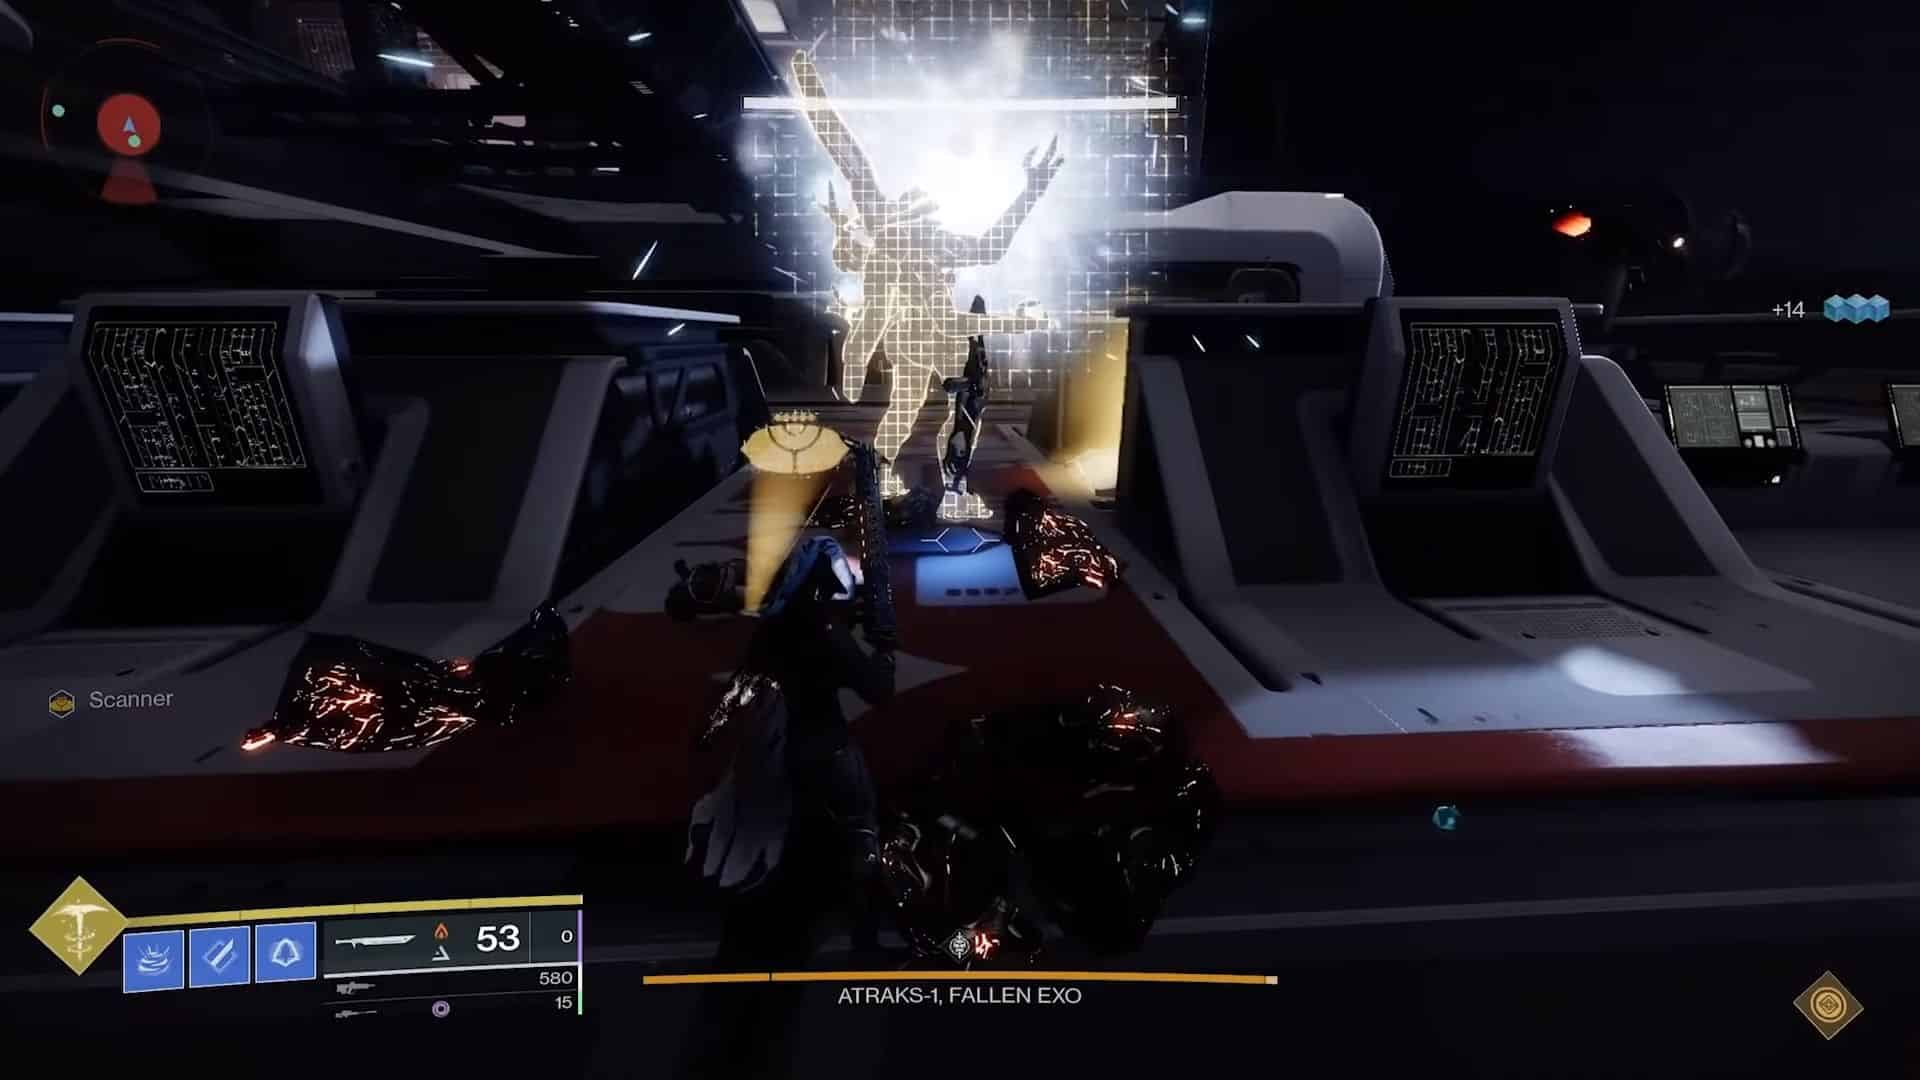
Many people thought that Atraks-1 was going to be the final boss of the raid, instead, one of Eramis’ most trusted lieutenants returns as a Fallen Exo. There’s a hefty amount of information to digest here, so be diligent.
- Again, split up into two teams
- Collect purple orb
- Three players stay on Europa, three go into space – both are destroying Servitors
- Scanners need to indicate the Atraks-1 clone – it should glow yellow
- Operators need to reset the Replication debuff
- Regular Guardians need to work in tandem with Operators to remove it
- Once all six Servitors are eliminated, the Space Team will need to have their Scanner point out which Atraks has the yellow glow
- Then players need to damage him and his leftover phantom too
- Keep going until Atraks-1 is down to 25% health
- Head to space and have the Scanner identify the right clones that need to be shot in order
- Defeat Atraks-1
Be sure to remove replication debuff from above a player’s head too, otherwise, they face a 4-second window before it kills them.
Space Hopping
After the titanic war you’ve just been through, this section will feel like a godsend. A linear platforming section with some light action. We don’t even need a list for this one.
Just simply negotiate the jumps, kill the few enemies, and get your team through to the end of this section.
Third Encounter – Stop Europa from being destroyed
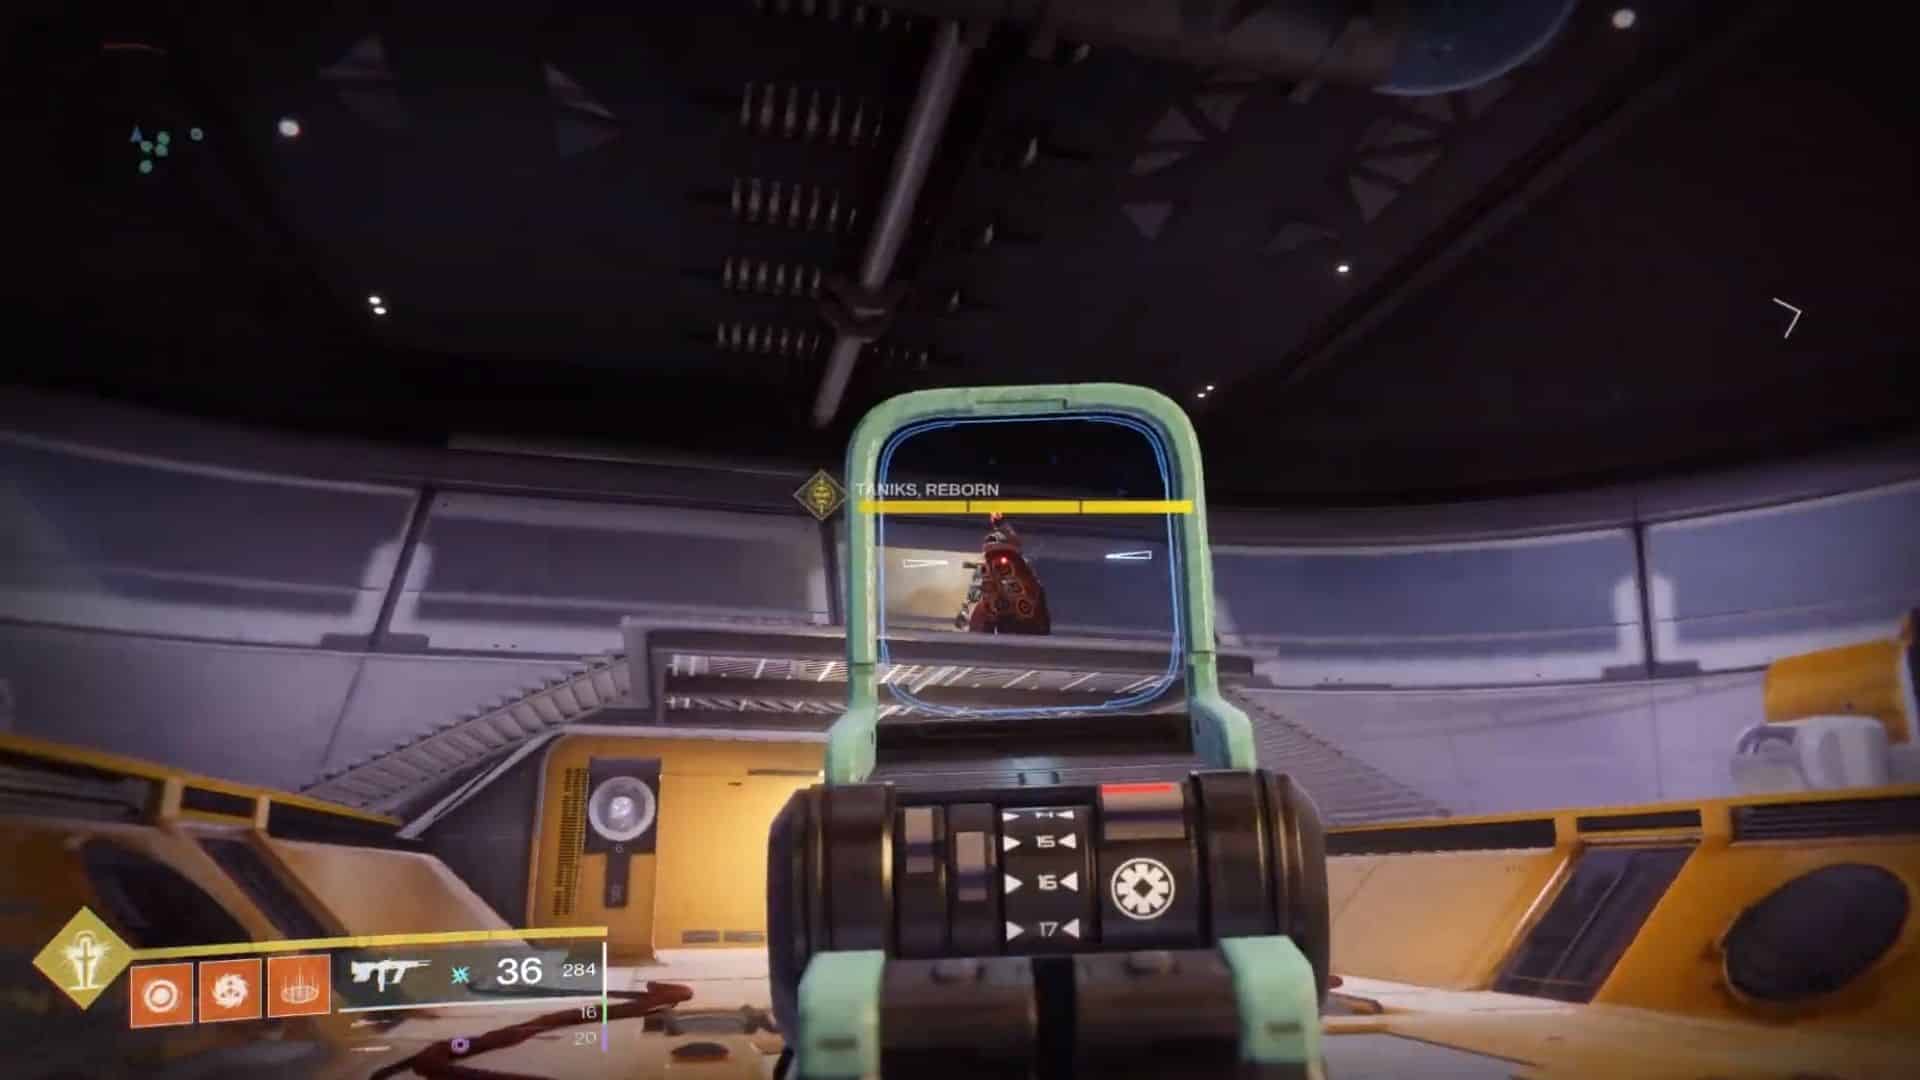
The final one of our three Augments will be found in this encounter – Suppression. For encounter number three, you’ll need to split up into teams of three now and deal with the destructive nature of nuclear cores.
- Split up into teams of three: Scanners, Operatives, and Suppressors
- The final boss, Taniks, needs to be stunned by the Suppressor role – he can’t be damaged in this phase
- The Scanners will need to accurately point out the correct boxes that nuclear cores can be put into
- Operators will need to shoot at glowing terminals to spawn nuclear cores
- Only spawn nuclear cores when Taniks has been stunned
- Players carrying these cores will gain a stack of radiation, just like the blizzard, building up 10 of these will kill you
- Depositing a nuclear core will result in the automatic disabling of one player’s augment – you can’t deposit two in the same box
- Players will need to keep this process going until it’s been done six times, this causes a hatch to open up that all players need to jump into
- This needs to be done ASAP as Tankis will start chasing you towards the hatch and will instantly kill anyone that is too slow
- Just one member of the team needs to get through the hatch
Just to reiterate, the second that hatch opens…RUN. You do not want your journey to come to an end because you were too idle.
Fourth Encounter – Kill Taniks, the Abomination
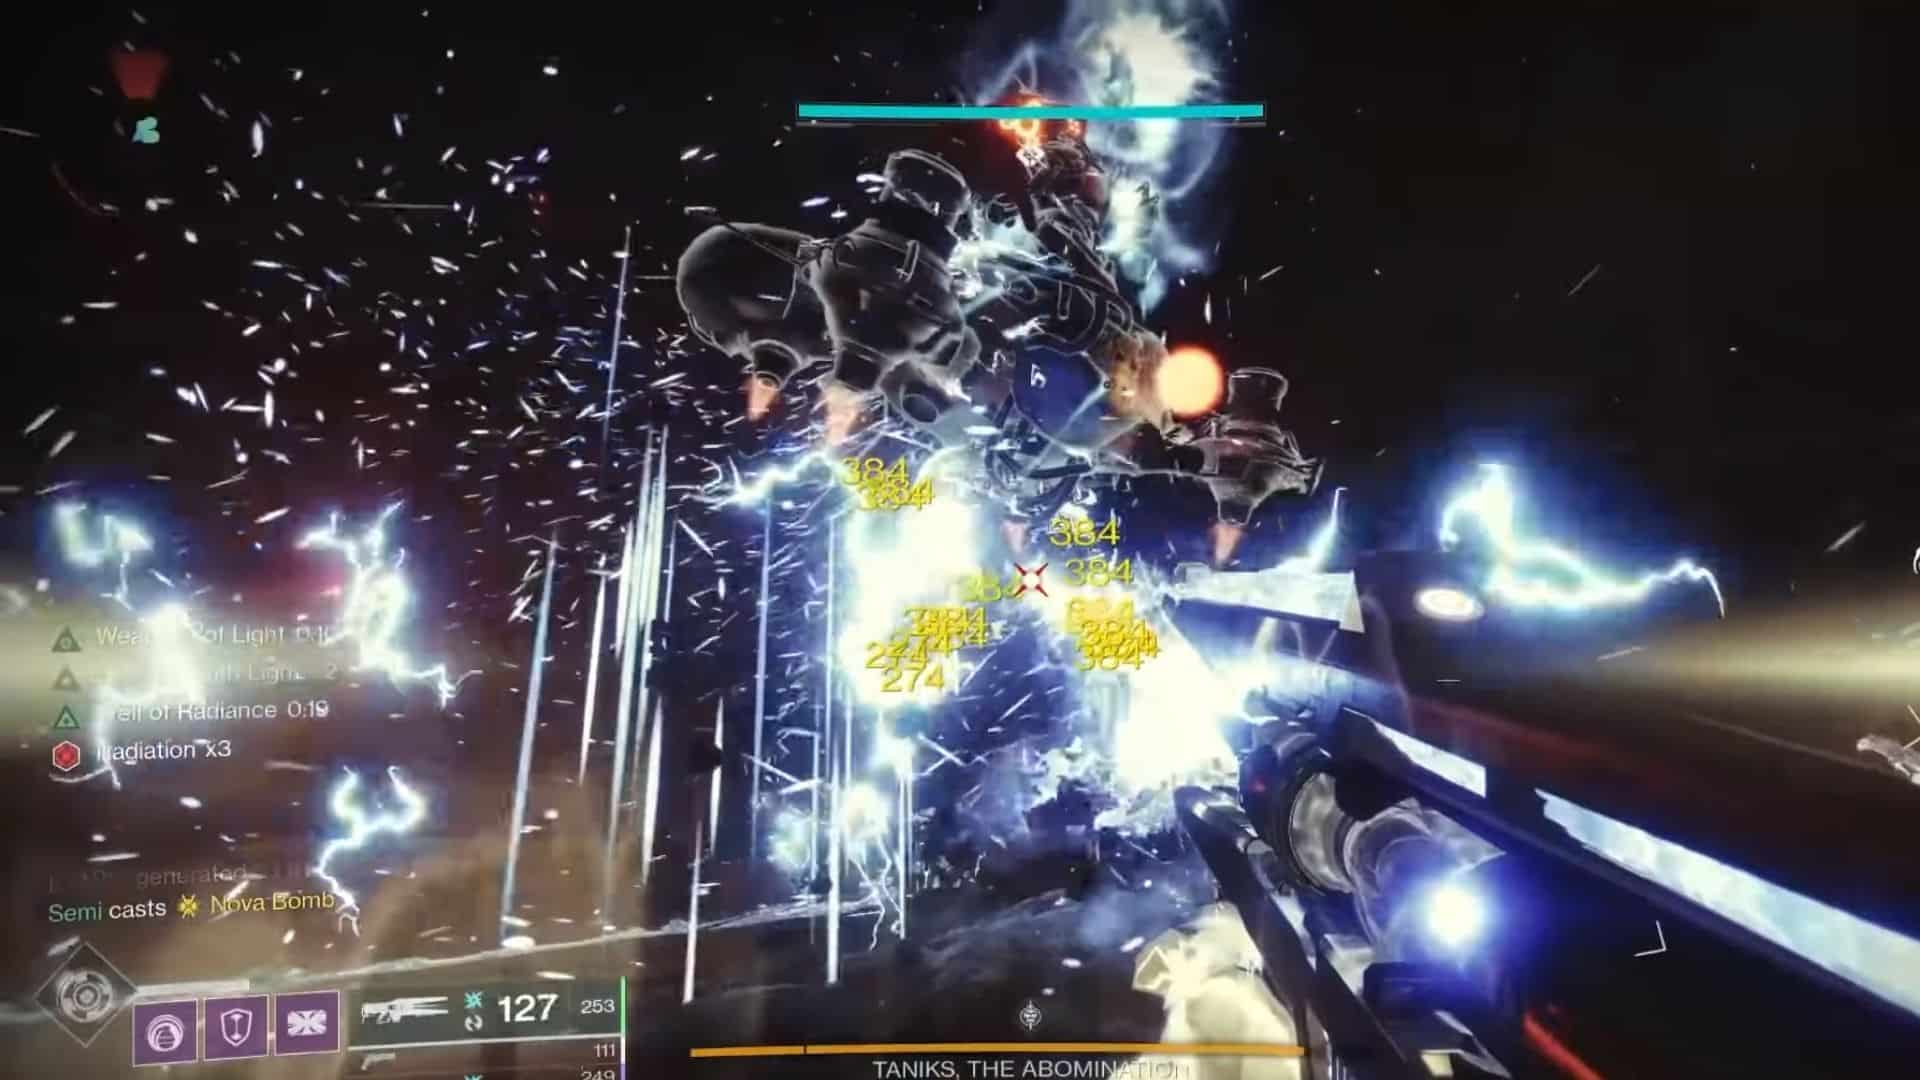
It all comes down to this. It’s time to utilize everything you’ve absorbed to this point. One final test of resolve to make this Exo and ex-Exo. It’s going to require more dishing out of key roles, people taking responsibility, and more than ever – teamwork.
- Scanners will need to be looking for the right bins to deposit nuclear cores into again
- Operators should NEVER carry cores and instead need to shoot the purple bubble that engulfs core carriers
- Suppressors unlock the correct boxes as pointed out by Scanners
- Players will also need to trade cores to account for the radiation stacks – remember, 10 will cause instant death
- Once four cores have been deposited, Taniks will unleash a barrage of damage, exposing his thrusters in the process, you need to shoot them
- Repeat all of this until Taniks is down to 25% health
- Taniks will now enter his final phase
- This stage needs to be done with the utmost haste, otherwise, Taniks will perform a complete wipe of the team
- Diminish his health bar with constant attacks and eventually vanquish Taniks
- Enjoy your victory and your loot!
Congratulations! You just beat the very tough Deep Stone Crypt raid and are one step closer to becoming a master of Beyond Light. We now wait for the World’s First solo completion using a Rock Band controller.
We sincerely hope our guide on how to beat the Deep Stone Crypt raid in Destiny 2: Beyond Light was of use to you. Go ahead and beat it, then who knows, maybe beat it again under tougher circumstances.
Image credits: Bungie